by Tara Prindle, Waaban Aki Crafting
|
Contemporary adjustable loom showing single strand square weave techinque Needle and Thread 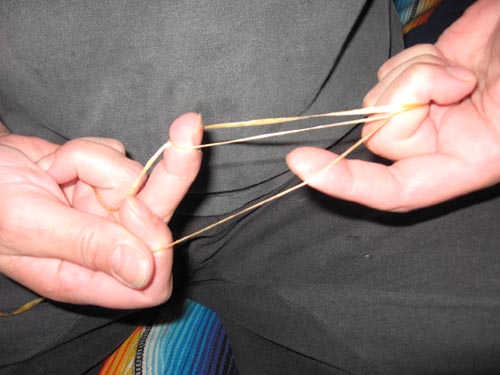
Using a length of imitation sinew about two yards long, pull the sinew apart at the center to isolate the individual strands. There are usually four or five separate strands.
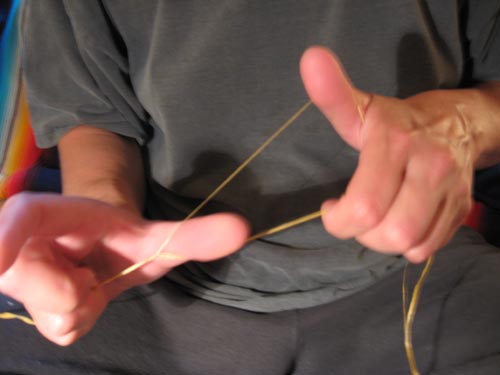
Starting somewhere near the center of the length of sinew, use your thumb to split off one strand while pulling the strands apart with the other hand. The split strand is the weft you will be weaving with.
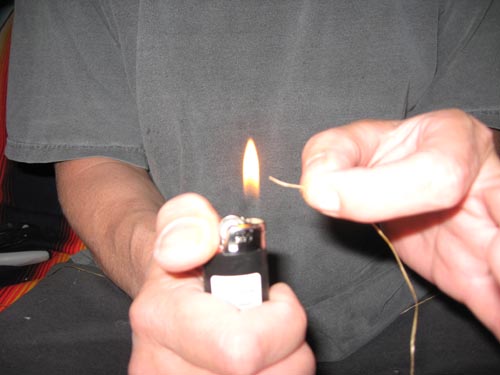
The beauty of using imitation sinew (waxed nylon) is that you can melt it, thereby creating a 'knot' on one end of the sinew. Taking care not to burn yourself, slowly melt the end of the sinew so that it forms a small ball on the end of the weft.
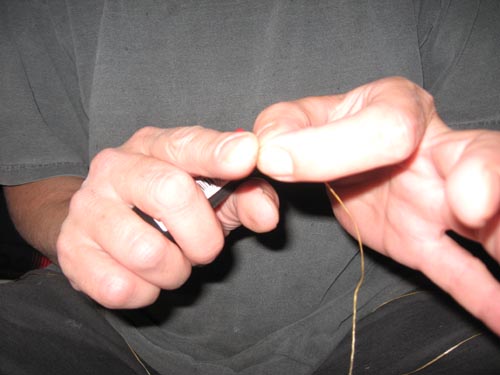
Tap the still warm ball with your finger so that it forms a flat disk that will not slip through the hole in the beads you are using.
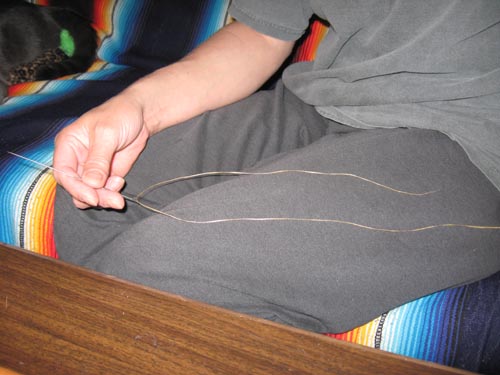
Thread the weft through your needle so that the knotted end hangs down further. You will be weaving with a single thickness of weft (not doubled).
Starting to Weave:
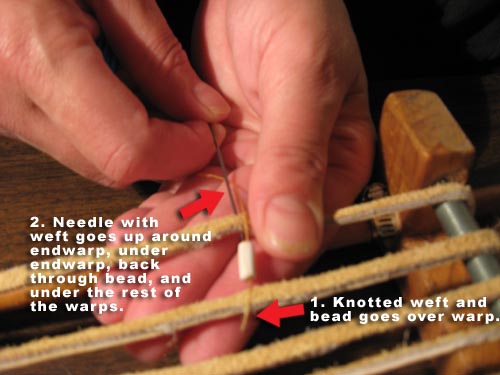
This shows an advanced way to hide your knot in the middle of your work, (between two beads), so that you will not have any knots showing on your endwarps. Thread a single bead onto your needle and slide it down to the end of your knotted weft. Place the bead and weft over the first bead row of your warp as shown in #1 above.
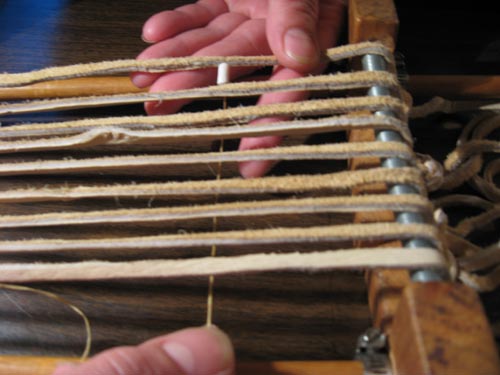
Your needle and weft (as in #2 above) goes around the endwarp and back through the bead, leaving the weft under all the rest of the warps. Place the remaing beads for this column on your needle and slide them down the weft.
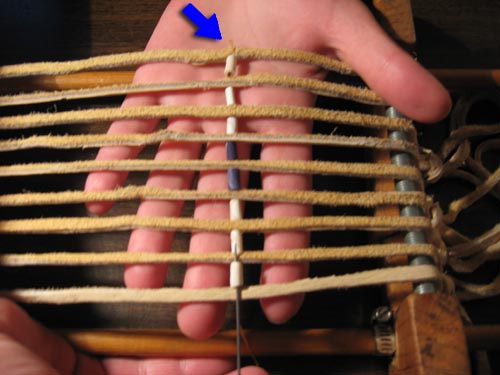
The first column of any belt is always the most awkward. Get your beads somewhat in place, under and between the warps -- try to hold them in place with the palm of your other hand. Your weft goes up and around the other endwarp and will go back over the warps and through all the beads in the column. Now here's a big tip: Leave a little 'slack' (or a loop of loose weft) around the first endwarp where the blue arrow is.
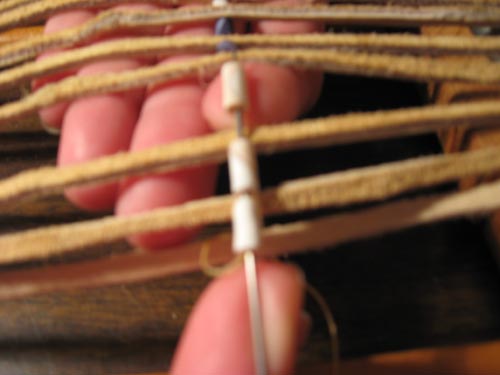
This close up shows how to gently separate the warps with one finger as you thread the needle back through the beads on the first column. Take care not to catch the bottom weft with your needle as you are going back through the beads.
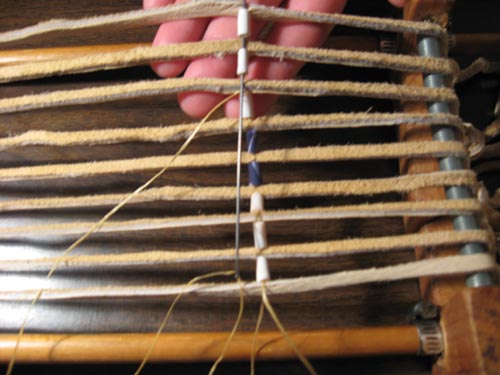
Continue going back through the beads of the first column. If you have enough slack in the weft (and a long enough needle), you can probably go through several beads at a time. If at any time it feels like there is too much tension to go through several beads, just go through one bead at a time to avoid breaking any beads by putting too much stress on the inside of the bead's hole.
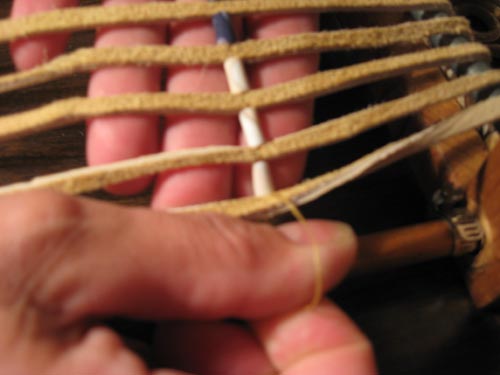
It's important to leave slack in the weft of the current column you are weaving in. The slack makes it easier to thread the needle back through the beads and your weaving will progress more quickly this way. With all your beads for one column in place, first take up the slack from the weft that goes under the warp by pulling the weft with your thumb and forefinger away from you -- pulling mostly on the lower left. You only need to take up the slack you left where the blue arrow was in the last photo.
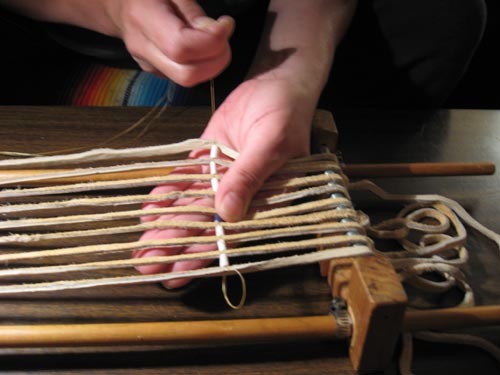
Now take up the slack from the upper weft. Supporting your column of beads in the middle with one hand, pull on the weft with your other hand. It's imortant to pull straight towards you, keeping the weft directly in line with your column of beads (do not pull 'up', pull 'through'), so that no undue tension is put on the insides of the bead holes.
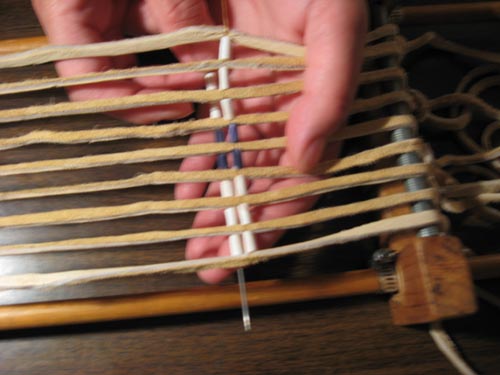
Congratulations, you've put in your first column of beads! For the second column (and all subsequent columns), place all your beads for the column onto your needle, place them under the warps, and get them lined up in their row spots. Pull the weft almost all the way through the second column. Remember to leave a small loop of slack where the weft exits the first column over the endwarp and enters the second column underneath the endwarp (where the red arrow is).
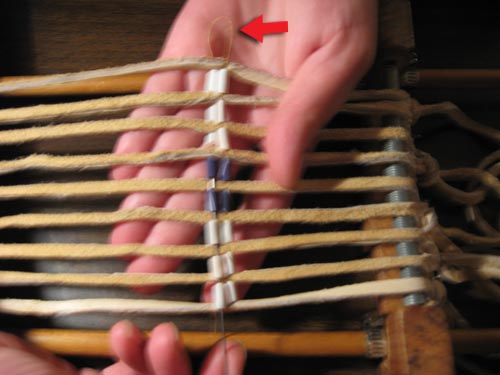
Continue to thread your weft back through the second column of beads making sure it stays over the warps.
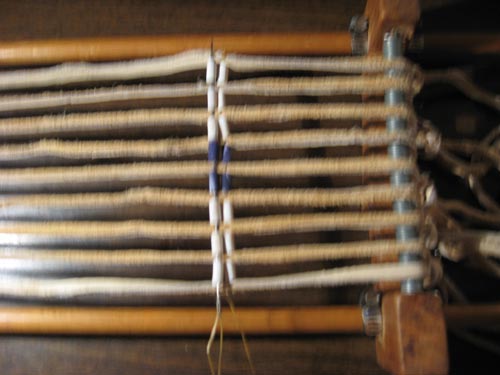
This shows that with proper slack in the weft, you can weave back through an entire column at once. You'll probably notice the initial loop of slack that you left is gradually taken up as you weave back through the column. (Note: I found this awesome needle at Joann's Fabrics, although I'm not sure what this type of needle is called. It's the perfect width and a great length for my simulated wampum beads. It easily holds a column of beads for an eight row belt). You absolutely don't need a needle this long for weaving. A shorter tapestry or yarn darning needle will work just fine, you just need to thread through a few beads at a time.
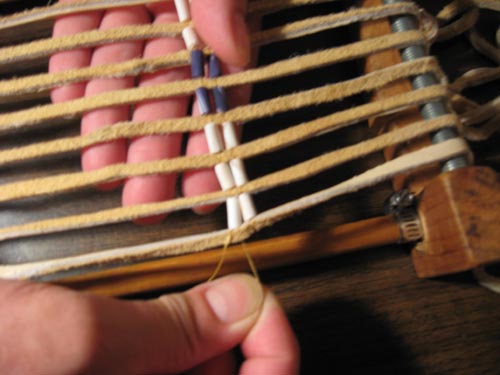
As you did with your first column of beads, take the slack up from the lower warp. Always support the woven part of your belt by holding it firmly with one hand as you pull straight out on the weft with your other hand.
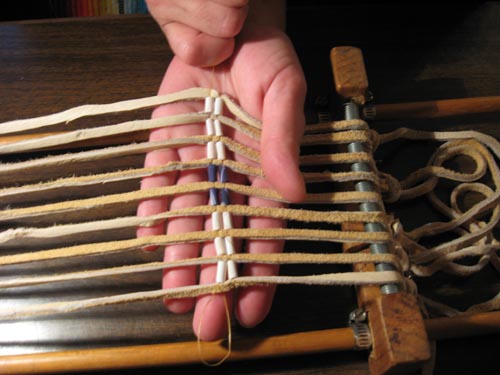
Now take up the slack from the upper weft. This photo demonstrates the tension and the care that needs to be taken when pulling on the wefts, especially with a wide belt.
Splicng in a New Weft:
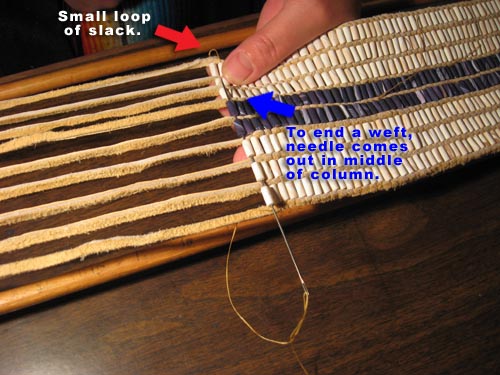
Eventually, your weft will run short and you will need to splice in a new weft. To hide your 'knots' in the middle of your work you will not go back through all the beads in a column. I like to end around a purple bead so that the melted knots are nearly invisible against the dark bead.
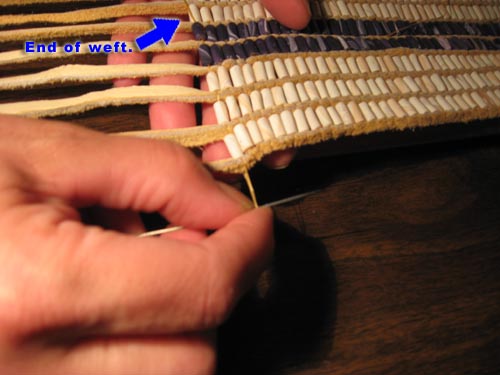
Take up whatever slack remains in the lower weft. When your loop of slack is small, you can use the end of the needle to help pull on it. You just don't want to pull the end of the weft back out of the column of beads.
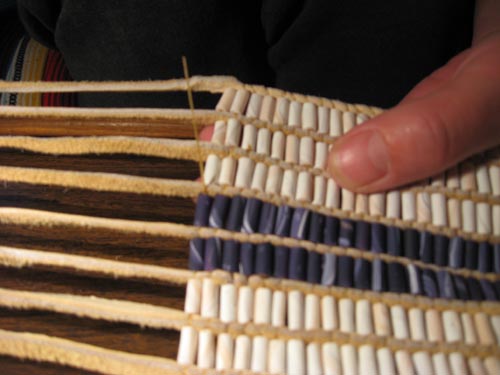
This shows the end of the weft poking up out the middle of the column of beads. Don't melt down this end into a 'knot' yet... just in case you have trouble putting through the new weft. I usually wait till the belt is finished and then I'll go back and melt all the ended wefts into knots.
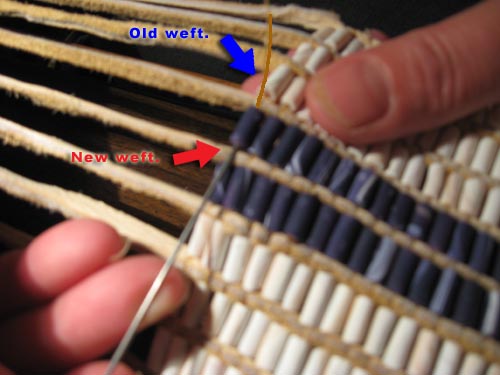
Thread your needle with a new weft as you did the first time with a knot melted at the end of the *new* weft. Starting on the opposite side of the bead you ended your last weft, thread the weft through the beads and over the warps to complete that column of beads.
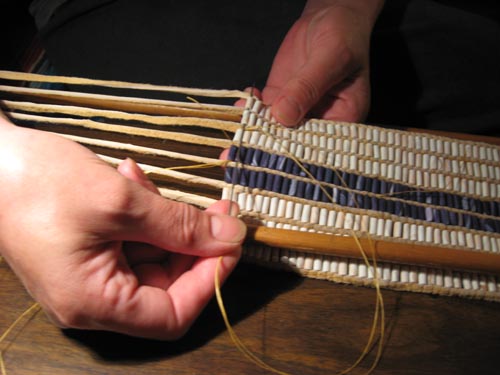
Finish going through the column of beads and over the warps with the new weft.
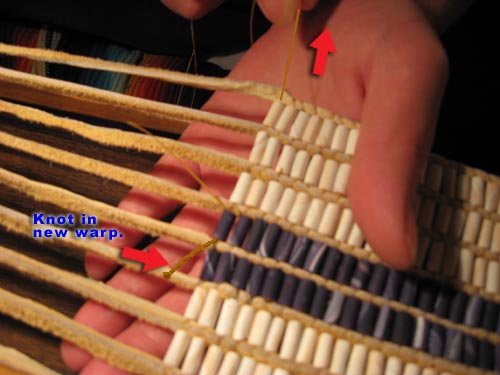
Pull the new weft through the beads so that the 'knot' is up against the edge of the first bead the weft went through.
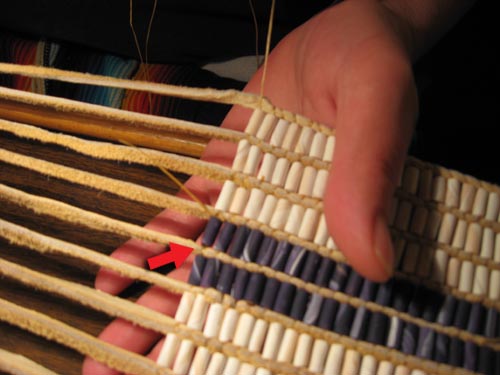
Showing new weft with knot hidden in place.
Ending the Weaving:

With your belt pattern complete, your weaving is nearly finished. Loop back up, and thread the weft back over the endwarp, through the very last bead.
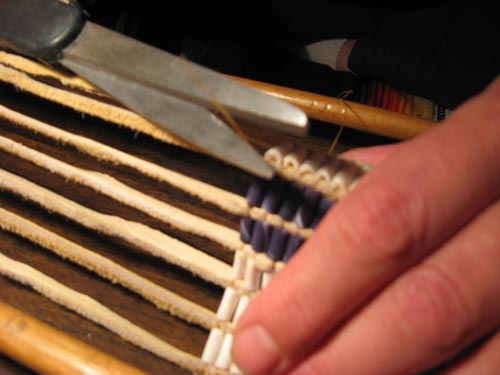
Trim the end of the weft to within an inch of the bead that it protrudes from.
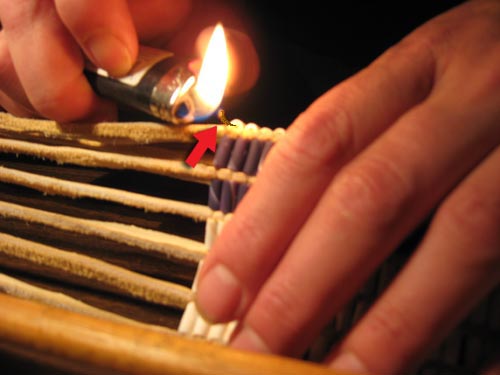
Gently 'pinch' the rows together where your weft protrudes from, so that you can melt the weft down to the bead. Take great care not to melt through the other wefts holding the column together.
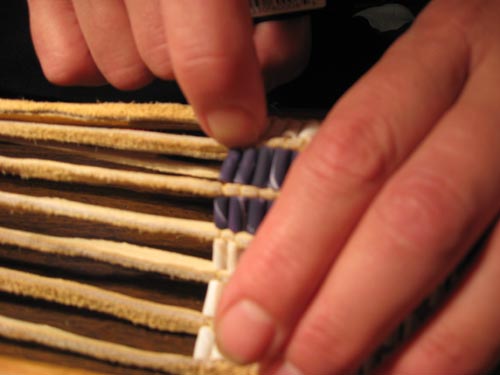
Very quicky with your finger, tap and flatten the melty ball of sinew up against the edge of the bead. This is the method you also use to end all the other weft strings that you used in the belt. Final Note: If you are uncomfortable with melting knots you can always tie traditional knots, I find they show more in the work and knots tend to slip out using the waxed nylon imitation sinew.
Click here for instructions on finishing a belt with leather end ties. Click here for information on ordering my simulated wampum beads. |
|
E-mail Address:
Mailing Address: P.O. Box 564 Vernon, CT 06066
© 1997-
Waaban Aki Crafting |

Home Page |